Tinkerer's Guide: Repairing Ridgid Batteries
Getting to Grips: When to Repair
Power tool batteries—eventually, they all falter. But how do you ascertain it's time for those Ridgid batteries to undergo a revamp? Look for signs of wear or decreased power, and you'll know.
Chemistry 101: Understanding Battery Basics
Before you dive into repair mode, it's handy to grasp the basics. Get familiar with your Ridgid battery—its type, voltage, and capacity. It'll make the repair process smooth-sailing.
Safety First: Precautions to Consider
Repairing batteries isn't without risks. Always be mindful of potential hazards like electric shocks or burns. Also, remember to don proper safety gear before tinkering.
Begin the Revival: The Repair Process
Got your safety gear on? Tools ready? Now, you can begin the repair process. From opening the battery pack to testing the individual cells, your Ridgid battery will get a new lease of life.
Post-Repair Care: Storing Your Batteries
Once revived, your Ridgid batteries need care, too. Proper storage goes a long way in preserving their health and longevity. Keep them in a cool, dry place, and they'll keep you powered for a long time.
Empower Your Repairs: Enhancing Your Workflow
Repairing your Ridgid batteries is an achievement, but how about making the entire workflow more efficient? That's where your friend, TripleD Tools, comes in.
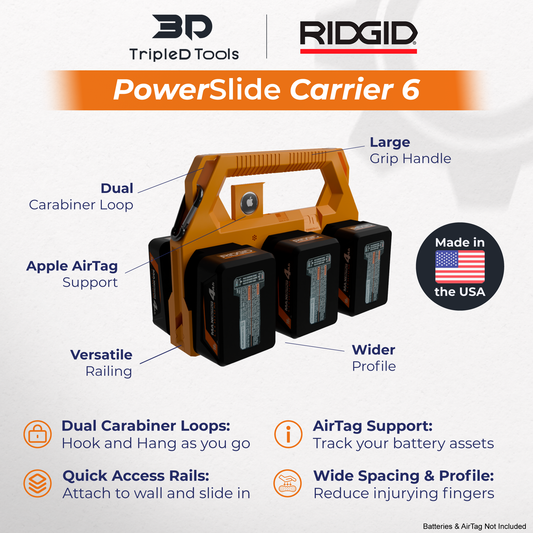
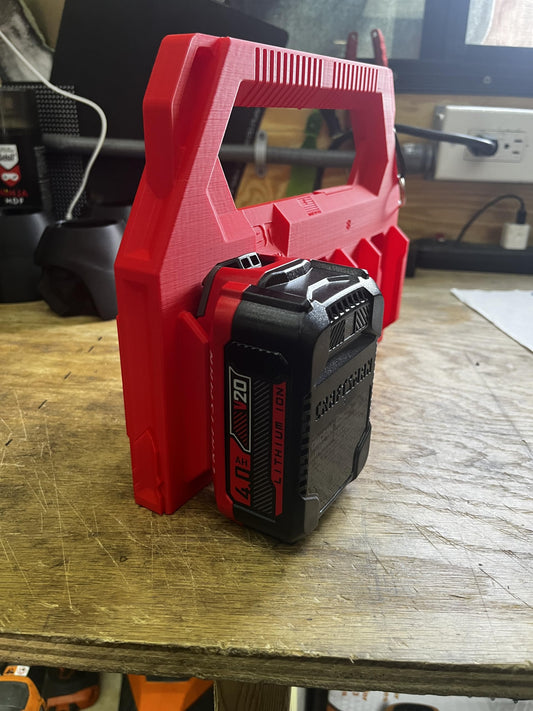
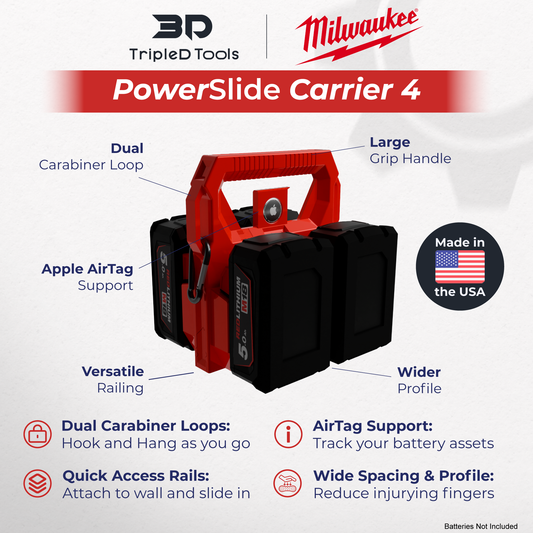
Meet TripleD Tools: Your Ally in Tool Organization
How about a custom-designed, 3D printed organizational accessory to enhance your toolbox? Come, explore our PowerSlide series at
TripleD Tools and elevate your tool management experience.
Need a Tip or Two? We've Got You Covered
Still unsure about battery repair or seeking some tool management advice? Don't hesitate to
reach out. After all, at TripleD Tools, we do more than just manufacture accessories. We foster a thriving community of makers and tinkerers alike.